
Imagine you are the captain of a ship in a thick fog. You roughly know the direction, but you can’t see the reefs, you don’t know the current speed, and you aren’t sure how much fuel is left. In business, this “fog” is the lack of accurate data. Google Analytics 4 (GA4) is your modern radar, showing not just the number of visitors, but their actual behavior.
Many entrepreneurs are afraid to set up analytics on their own, thinking it’s a job for programmers. However, by 2026, this tool has become significantly more user-friendly. The key is to know a few “hidden pitfalls” to avoid losing valuable information in the process.
1. Why Can’t You Just “Transfer” Old Data?
The most important fact to realize is that GA4 operates on an entirely new logic. Old analytics systems counted “sessions” (visits), whereas the new system counts “events” (specific actions). Because of this, data from older versions cannot simply be imported into the new one. Expert Tip: If you are only switching to GA4 now, start collecting data immediately. The sooner you install the tracker, the more historical data you will have for comparison in six months.
2. Creating a Property: Attention to Detail
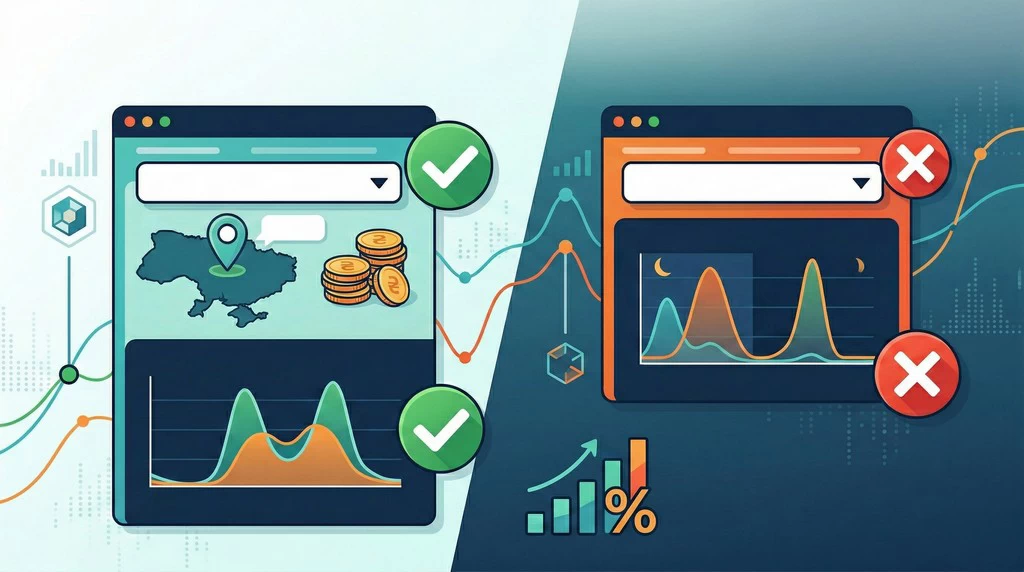
When you create a new property in the Google Analytics dashboard, the system will prompt you to choose a time zone and currency.
- Why it matters: If your website operates in the Ukrainian market but your settings are set to US time, your reports will “lie.” You will see activity peaks at night, even though people were actually visiting during the day. You can change this later, but past data will not be recalculated.
- Analytics: Over 15% of errors in beginner reports are tied specifically to incorrect time zone settings.
3. Installing the Code: Website Core or Tag Manager?
You have two paths: paste a piece of code directly into your website’s code or use Google Tag Manager (GTM). A true expert will always recommend the second option. It’s like having a universal remote for all your devices. Once you install Tag Manager, you can add any analytical tools without involving a programmer or risking breaking the website’s code.
4. Data Retention Period: The Silent Trap
This is the setting where most people stumble. By default, GA4 only stores detailed user data for 2 months. After this period, you will be able to see general numbers but won’t be able to build in-depth reports for the past year. What to do: Immediately after creating the property, go to “Data Settings” — “Data Retention” and change the 2 months to 14 months. This will allow you to compare current month results with the same period from the previous year.
5. Enabling Enhanced Measurement
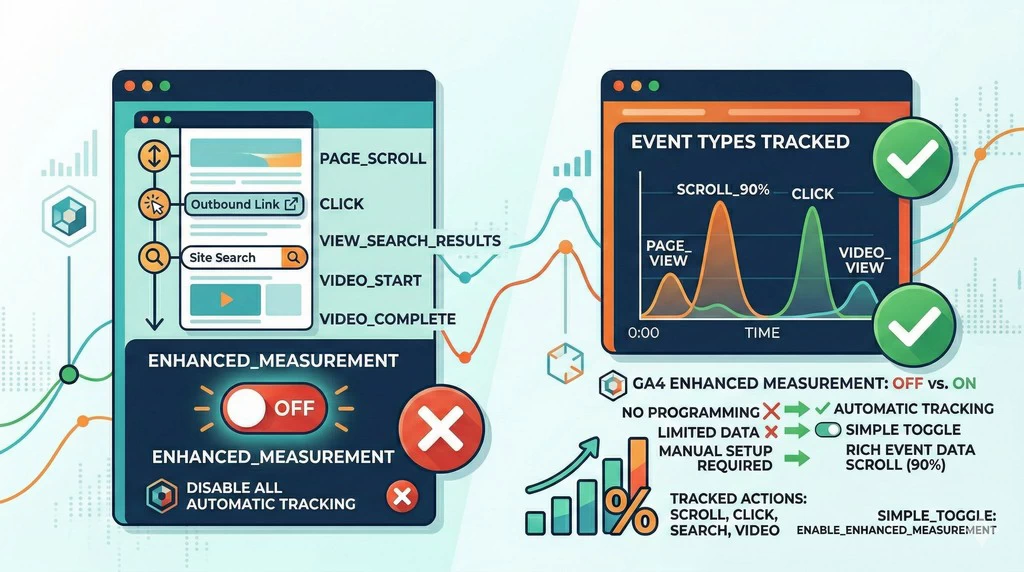
One of GA4’s coolest features is its ability to automatically track many actions: page scrolls, outbound link clicks, site searches, and even video views. You don’t need to program anything; simply toggle the “Enhanced Measurement” switch in your data stream settings. Interesting Fact: Automatic scroll tracking only triggers when a user reaches the 90% mark of a page. If it’s important for you to know if people are reading the middle of your text, you will need to set up additional markers manually.
6. Verification: Don’t Wait Until Tomorrow
After setup, be sure to use the “Real-time” report. Open your website from a phone or a different browser and check if your visit appears in the analytics dashboard. If the numbers don’t change, there is an error somewhere. It’s better to spend 10 minutes checking now than to discover a month later that no data was collected.
Setting up analytics is not a one-time action, but the foundation of your growth. A correctly configured system will help you understand which ads pay off and which ones are simply “eating” your budget. Don’t be afraid to look into the settings: GA4 was created so that you can see reality, not just guess it.




Comments